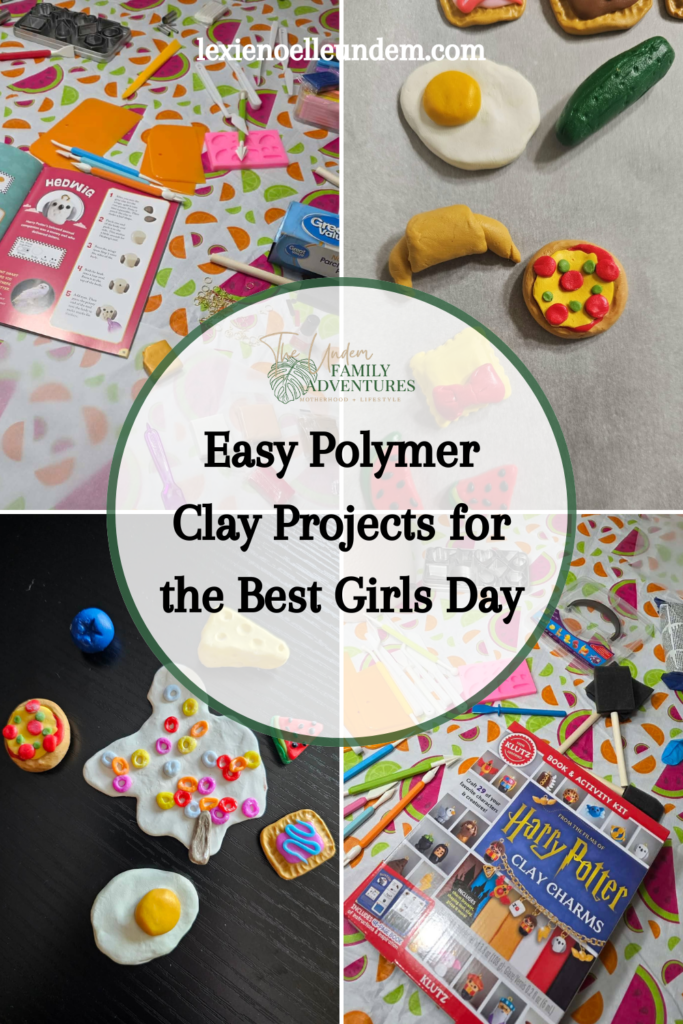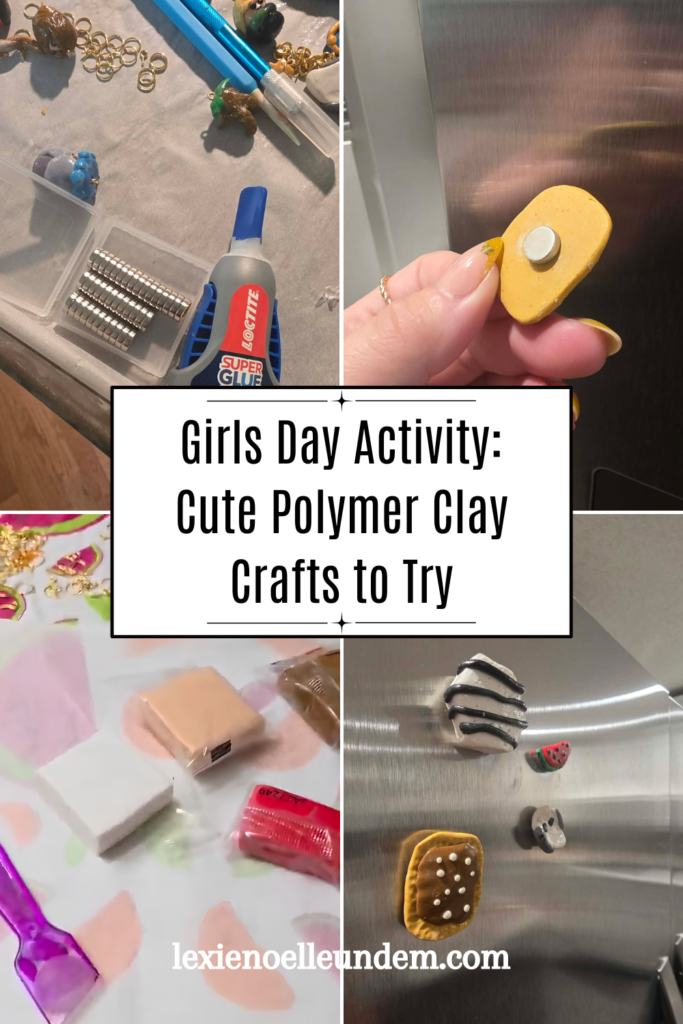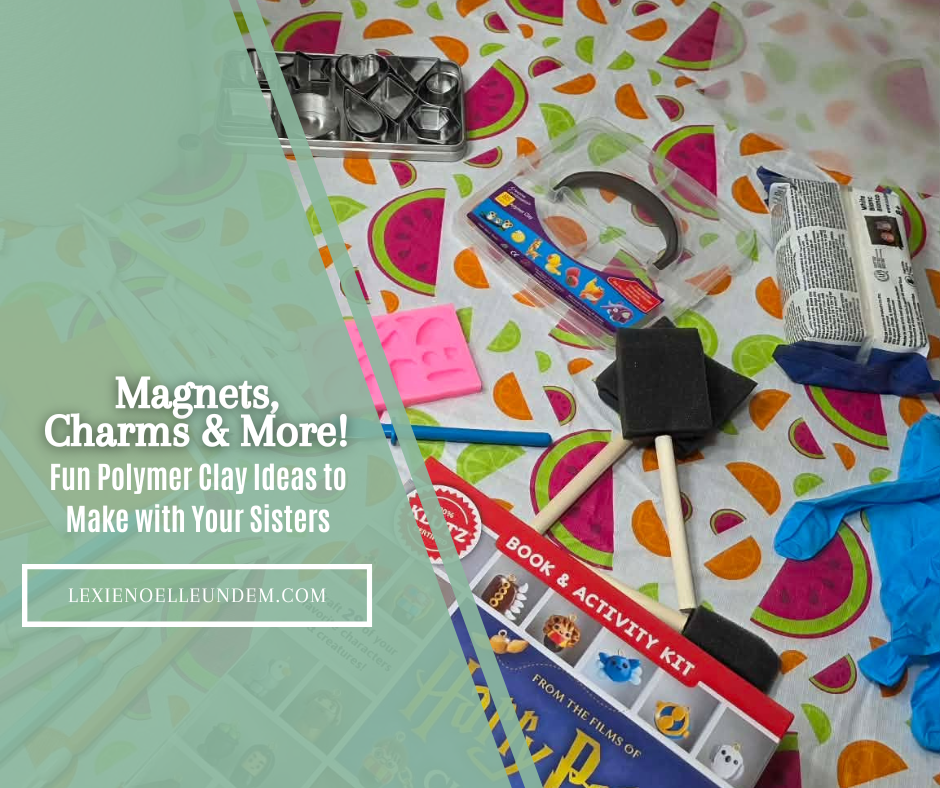
So I finally did something just for fun. No meal prep, no allergy label reading, no negotiating screen time with a six-year-old who has the negotiation skills of a tiny lawyer. I had some of my sisters over for a craft weekend, and we spent the day making polymer clay crafts together, and honestly it was one of the best days I have had in a long time. We ordered a few polymer clay kits off of Amazon, cleared off the kitchen table, and just let ourselves be creative for a whole day. It was chaotic in the best possible way.
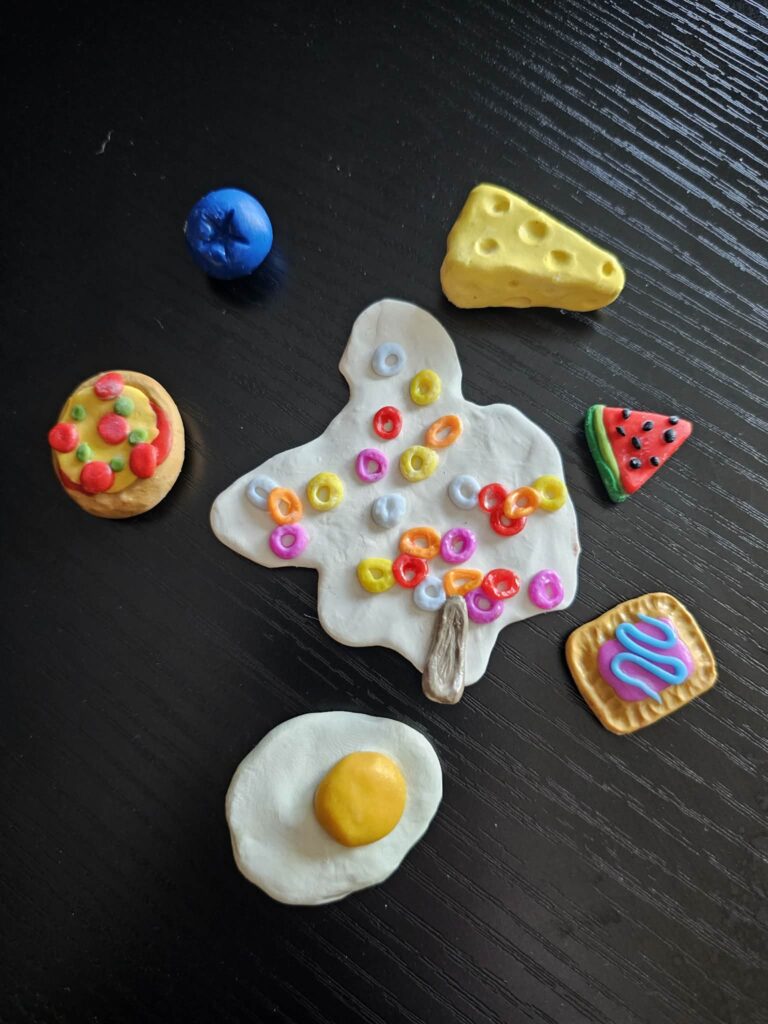
If you have never tried polymer clay before, let me just tell you that it is way more approachable than it looks. The kits we ordered came with everything we needed, including the clay, tools, and instructions, so there was zero guesswork involved. My sisters went full food-themed with their pieces, making magnets that looked like pop tarts, croissants, grapes, cheese, and a bunch of other cute little food items. Some of them also made jewelry holders and little figurines. I, on the other hand, went full Harry Potter mode and did not apologize for it even once. I had ordered a Harry Potter themed polymer clay kit and I used every single bit of it making characters and charms from the wizarding world.
Even Carolynn, who is six and has ADHD, got in on the action and made the most adorable little mushroom house. Camden was napping for part of it, which, bless. This post is going to walk you through everything we made, how we finished and sealed everything, and all the tips I picked up along the way so you can try polymer clay crafts at home too. Let us get into it.
Quick Navigation
- 1. Harry Potter Character Charms
- 2. Harry Potter Symbols and Icons
- 3. Food-Themed Polymer Clay Magnets
- 4. Jewelry Holders and Little Figurines
- 5. Carolynn’s Mushroom House
- 6. Baking and Hardening the Clay
- 7. Paint Touch-Ups After Baking
- 8. Sealing with Mod Podge
- 9. Attaching Magnets and Charm Rings
- FAQ
1. Harry Potter Character Charms
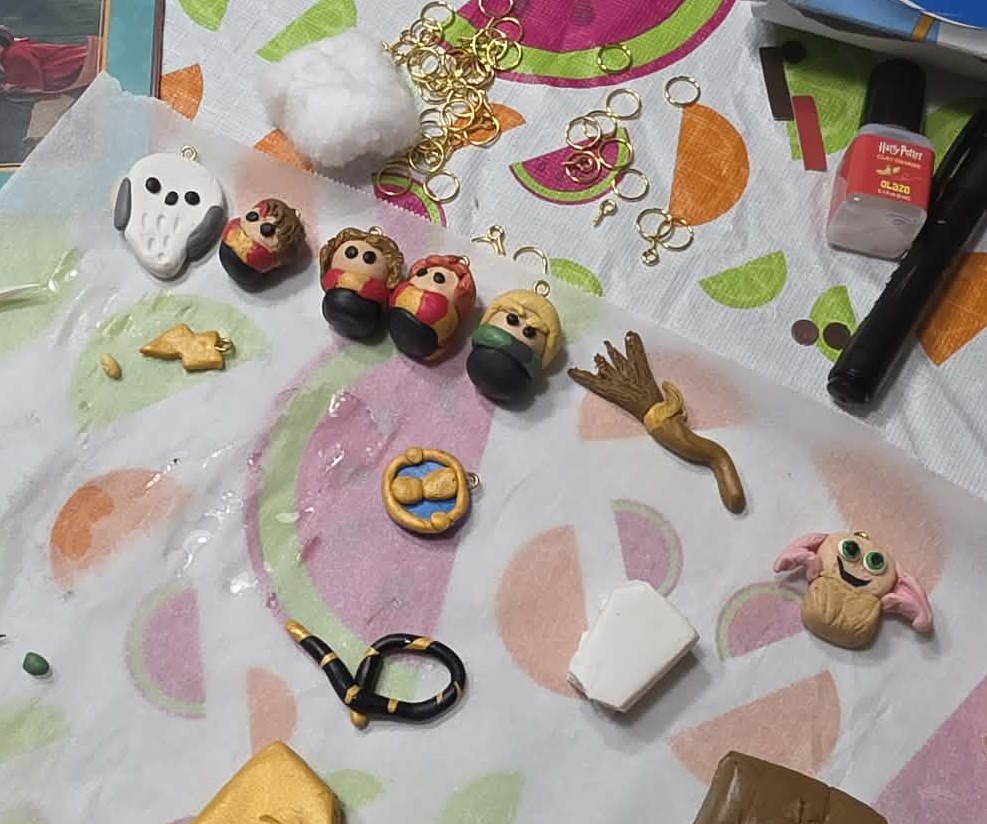
This was my entire personality for the day and I have zero regrets. I used my Harry Potter themed polymer clay kit to sculpt character charms including Harry Potter himself, Ron Weasley, and Dobby, plus a few others from the series. Each little figurine was small enough to hang on a bracelet or keychain, which was always the goal, so I kept the proportions pretty compact while still making the details recognizable. Before baking, I inserted a small charm ring into the top of each figurine so that once they hardened I could attach them to a chain, bracelet, or keychain with no trouble at all.
I made Harry’s lightning bolt scar as a standalone charm, along with Hedwig the Owl, and a handful of other symbols and icons from the Harry Potter world. The lightning bolt was actually one of the easier pieces to shape because the geometry is pretty simple, but getting the sizing right so it looked intentional and not just like a random yellow zigzag took a couple of tries. Hedwig was my personal favorite to make because the white clay with tiny gray detail feathers came out so much better than I expected even if i had to do it twice. I added charm rings to all of these too so they could hang right alongside the character charms on a bracelet or keychain.
3. Food-Themed Polymer Clay Magnets
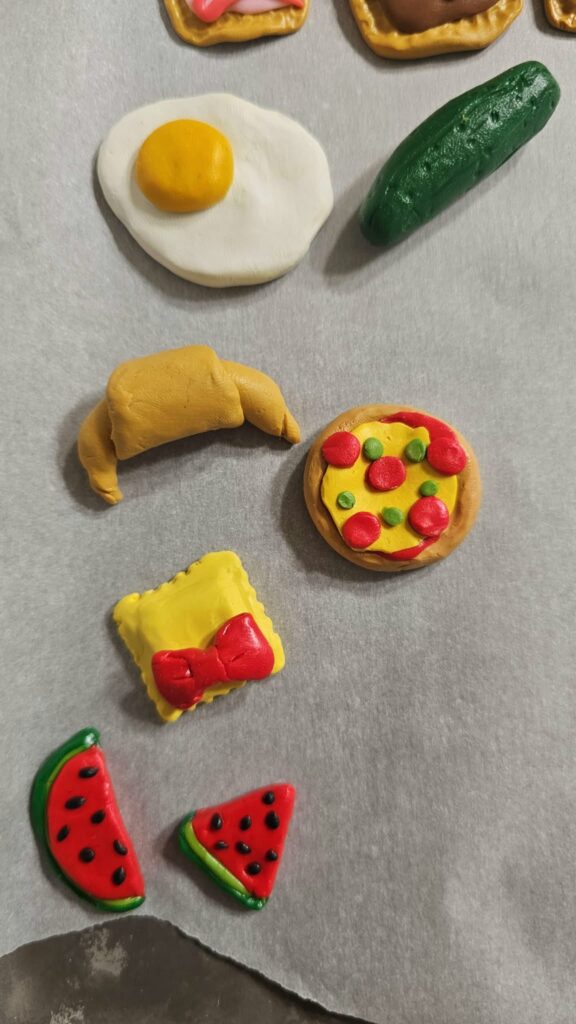
My sisters absolutely ran with the food theme and I am so glad they did because the results were unbelievably cute. They sculpted polymer clay magnets shaped like pop tarts, croissants, grapes, slices of cheese, and a whole spread of other little food pieces that honestly looked good enough to eat. The detail work they put into things like the icing drizzle on the pop tarts and the individual grapes on the cluster was so impressive, especially since most of us had never really worked with polymer clay before this day. Once these were baked and sealed they got small magnets super glued to the backs, and now several of my sisters have the most adorable little food magnet collections on their fridges at home.
4. Jewelry Holders and Little Figurines
A couple of my sisters decided to go a little more functional with their polymer clay crafts and made small jewelry holders along with some free-form figurines. The jewelry holders were designed to sit on a dresser and hold rings or small earrings, and the clay holds its shape really well once baked so they are actually sturdy enough to use every day. The figurines were more whimsical, just little characters and shapes that came from pure imagination with no kit instructions guiding them, which I thought was so cool. It is a great reminder that you do not need a themed kit to make polymer clay crafts, you really just need the clay and a willingness to see what happens.
5. Carolynn’s Mushroom House
Carolynn sat down with us and sculpted the tiniest, most perfectly imperfect little mushroom house you have ever seen, complete with a little rounded cap and dots. For a kid who is six and has ADHD, her focus during this activity genuinely surprised me in the best way, and I think it is because working with clay is tactile and hands-on in a way that really works for her brain. There was something about the sensory element of squishing and shaping the clay that kept her engaged way longer than I expected. She sealed her mushroom house with a coat of glossy Mod Podge and she was so proud of it.
6. Baking and Hardening the Clay
Once everyone had their pieces made and was happy with how they looked, we baked everything in the oven following the directions that came with each kit. Baking polymer clay in the oven is what allows it to set and harden properly, and it works so much faster than air drying, which makes it great for a one-day craft session. The general rule with most polymer clay is to bake at a low temperature, usually around 275 degrees Fahrenheit, for about 15 to 45 minutes depending on the thickness of your piece, but always follow the specific instructions on your kit because brands can vary. We let everything cool completely on the pan before touching it, which took some patience but is genuinely important because the clay can be a little fragile while it is still warm.
7. Paint Touch-Ups After Baking
After everything cooled some of us went back in with small paintbrushes and acrylic paint to touch up any details that needed a little more definition or color. This step is totally optional but it really does take your polymer clay crafts from cute to genuinely impressive, and the paint dries fast so it does not add much extra time to your day.
8. Sealing with Mod Podge
Once the paint touch-ups were dry, we sealed everything with Mod Podge, and we used both the glossy and matte finish versions depending on what look we wanted for each piece. Sealing with Mod Podge is an important step because it protects the surface of your polymer clay piece and helps any painted details stay put over time. We just brushed on a thin coat, let it dry completely, and that was it.
9. Attaching Magnets and Charm Rings
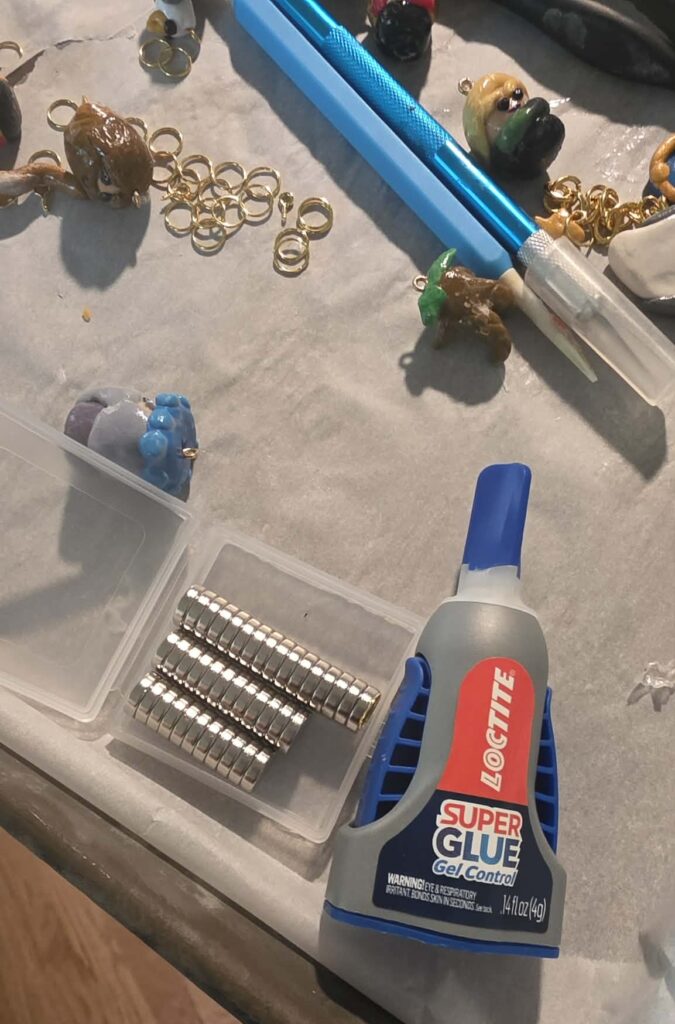
The final step was attaching everything to whatever it was going to live on. For the food magnets, we used super glue to adhere small flat magnets to the backs of the pieces, and the bond was really strong and held up well. For my Harry Potter charms, I had already inserted the small charm rings before baking, so once everything was sealed they were ready to attach to a chain, bracelet, or keychain right away. Super glue is genuinely the easiest way to attach magnets to polymer clay, and as long as you let it cure fully before sticking the piece to anything, it holds really well. Watching everyone attach their finished pieces to their bags, keychains, and fridges at the end of the day was such a satisfying moment after a full day of creating together.
Frequently Asked Questions About Polymer Clay Crafts
Do you have to bake polymer clay or can it air dry?
Polymer clay is not the same as air dry clay, so it does need to be baked in a conventional oven to harden properly. Most polymer clay brands bake at around 275 degrees Fahrenheit for 15 to 45 minutes, but you should always follow the specific instructions that come with your clay because the timing and temperature can vary between brands. Baking is what makes the clay firm, durable, and permanent, and it is honestly one of the things that makes polymer clay so great for a one-day craft session because you do not have to wait overnight for it to dry. Just make sure you let everything cool completely on the pan before handling it.
How do you seal polymer clay to make it last?
Mod Podge is one of the most popular and accessible sealers for polymer clay crafts, and it comes in both glossy and matte finishes so you can choose the look you want. You just brush a thin coat over the surface of your finished piece, let it dry fully, and it protects the clay and any painted details from chipping and wear. For pieces that will get a lot of handling, like keychains or charms on a bracelet, a second coat of Mod Podge adds extra protection. You can also use resin or a dedicated polymer clay varnish if you want an even harder finish, but for a fun craft day with friends or kids, Mod Podge is totally sufficient and really easy to work with.
How do you add a charm ring to polymer clay before baking?
You insert the small jump ring or charm ring into the top of your unbaked polymer clay figurine before it goes in the oven, and the clay bakes around it to hold it in place permanently. Press the ring in gently but firmly so it is partially embedded in the clay, making sure enough of the ring is sticking out above the surface so you can attach it to a chain or keychain later. It is a good idea to position the ring while the piece is still soft so you can adjust the placement and make sure it sits straight. Once baked and cooled, the ring is set in place and ready to use right away.
Is polymer clay safe for kids to use?
Most polymer clay brands marketed for crafting are non-toxic and safe for kids to handle with adult supervision, but it is still a good idea to keep young children from putting it in their mouths and to wash hands thoroughly after use. Carolynn worked with us all day and had no issues, and the tactile nature of squishing and shaping the clay was actually really engaging for her because she has ADHD. One thing to keep in mind is that if your child has skin sensitivities or allergies, you may want to check the ingredient list on your specific brand of clay just to be safe. Always handle the oven baking portion as an adult step and keep kids away from the hot pan until everything is fully cooled.
Wrapping Up Our Polymer Clay Craft Day
This craft weekend with my sisters was genuinely one of those days I want to bottle up and keep forever. There is something about sitting around a table, working with your hands, and just being creative together without any agenda that fills your cup in a way that is hard to describe. We all went home with something we made ourselves, whether that was a fridge full of adorable food magnets, a set of Harry Potter charms, or a little mushroom house made by a proud six-year-old. And the whole thing cost almost nothing because the kits were affordable and we already had most of the finishing supplies on hand.
If you have been on the fence about trying polymer clay crafts, please let this be your sign to just go for it. Order a kit, grab a friend or a sister or your kid, and give yourself a few hours to make something just for fun. You do not have to be artistic or have any experience. You just have to be willing to get a little clay under your fingernails and see what happens. I promise it is worth it.
Have you ever tried polymer clay? Drop a comment below or share your crafts with me on Instagram and tell me what you made or what you would want to try. And if you are looking for more fun craft ideas to do with your kids or your people, check out the crafts section of the blog for more ideas I actually love and have tested with my own crew. We will see you in the next one.
You Might Also Like…
Save These Pins For Later!