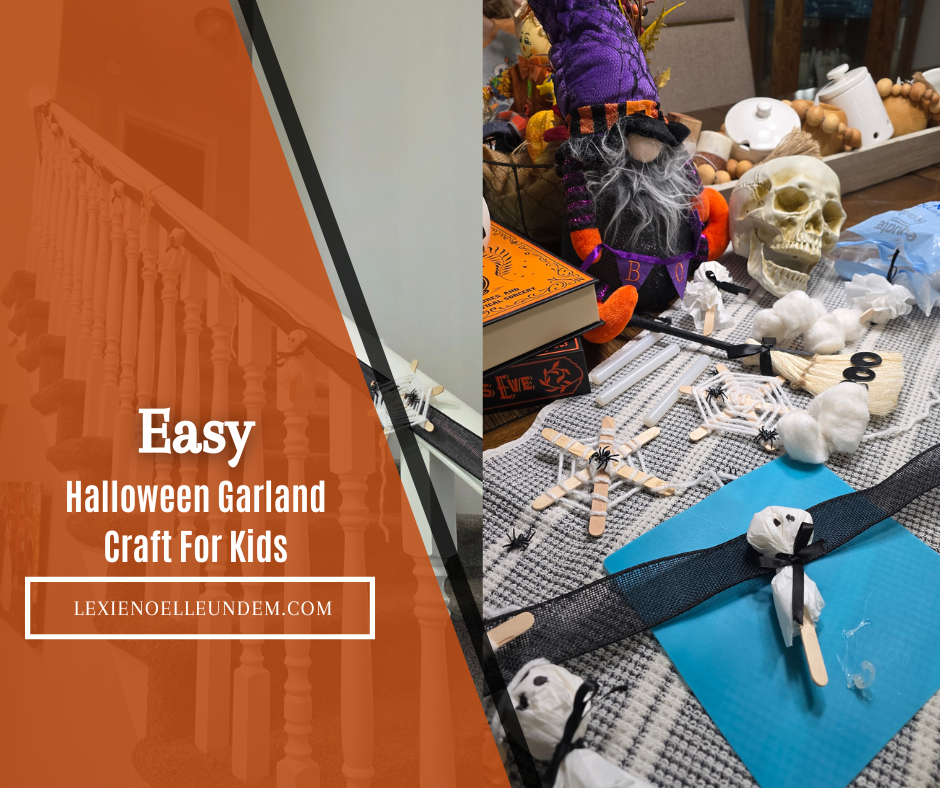
October hits and I turn into a completely different person. Shane would absolutely confirm this. One minute I am a normal human being making school lunches, and the next I am standing in the Target dollar section at 8am with a basket full of foam pumpkins and googly eyes wondering how I got there. It happens every single year and I have zero regrets.
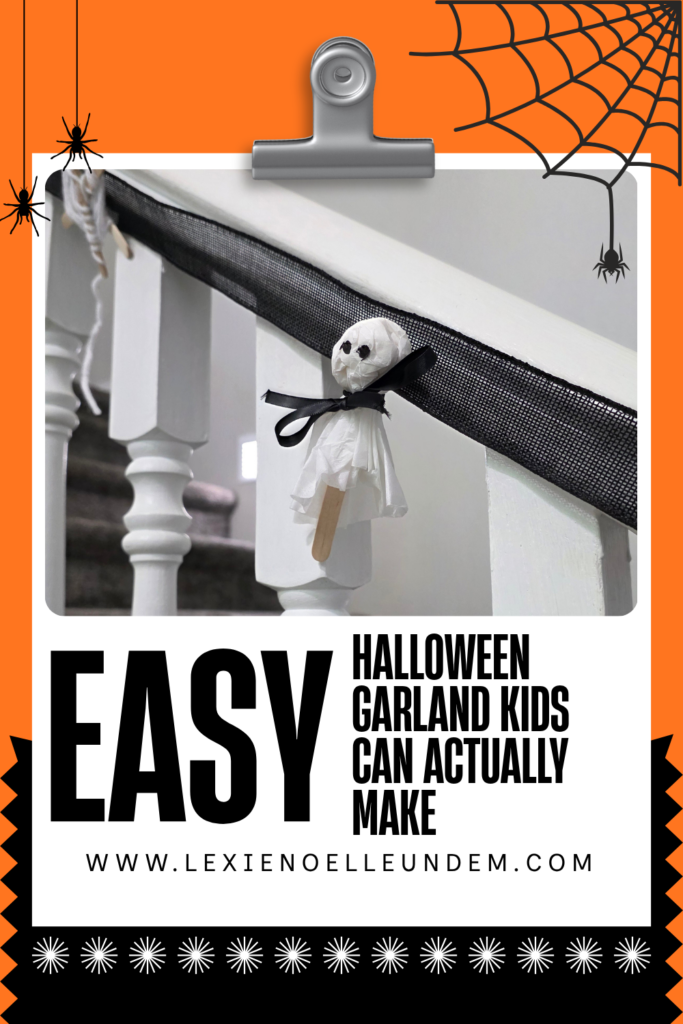
This year I really wanted to do a Halloween garland for kids that Carolynn and Camden could actually help make. Not just watch me make while I stressed about it looking Pinterest-perfect. Like actually get their hands in there, feel proud of it, and see it hanging up in our home for the whole month. Camden is almost three and Carolynn is six, so I needed something that worked for both of them without being two completely different crafts. Spoiler: we found it, and it is cute, it is easy, and it did not cost me more than a few dollars.
If you have been looking for simple Halloween decorations that your littles can actually help create, you are in the right place. Let me walk you through exactly how we made ours.
Why We Love Making Seasonal Crafts as a Family
I will be real with you. I am not a craft blogger in the traditional sense. I do not have a perfectly organized craft room or a color-coded supply drawer. I have a kitchen table, a junk drawer full of dried-out markers, and two kids who have very big opinions about everything.
But seasonal crafts have become one of my favorite ways to slow October down a little bit. Carolynn has ADHD, so she thrives with hands-on activities that have a clear purpose and a visible end result she can show off. Telling her we are making a garland that is going to hang in our living room all month? She was in. Completely locked in. That kind of motivation is gold for us.
Camden just wanted to touch all the cotton balls and decorations which is on brand for almost-three-year-old’s everywhere. We survived it.
Supplies You Need for This Halloween Garland for Kids
Before we get into the how-to, let me just say that almost everything on this list can be found at a dollar store, a craft store, or honestly just dug out of the junk drawer. I love a low-barrier craft. Here is what we used:
For the Coffee Filter Ghosts
- White coffee filters (the basket style works best)
- Cotton balls for stuffing
- Popsicle sticks (one per ghost)
- A short piece of ribbon or twine per ghost
- Black marker for drawing the eyes
- Hot glue gun (adult use only)
The Popsicle Stick Spider Webs
- Popsicle sticks (3 per web)
- White string or white yarn
- Small plastic spiders (dollar store party section is your best friend)
- Hot glue gun (adult use only)
For the Garland Base
- One long ribbon, black or orange works great
- Hot glue gun
- Scissors
That is genuinely it. Nothing fancy. Nothing that requires a trip to a specialty store. Camden is allergic to dairy, eggs, oats, barley, and flaxseed, and Carolynn is dye-free and sugar-free, so I always love when a craft has zero food components to worry about. This one is completely safe for both of them to handle and help with.
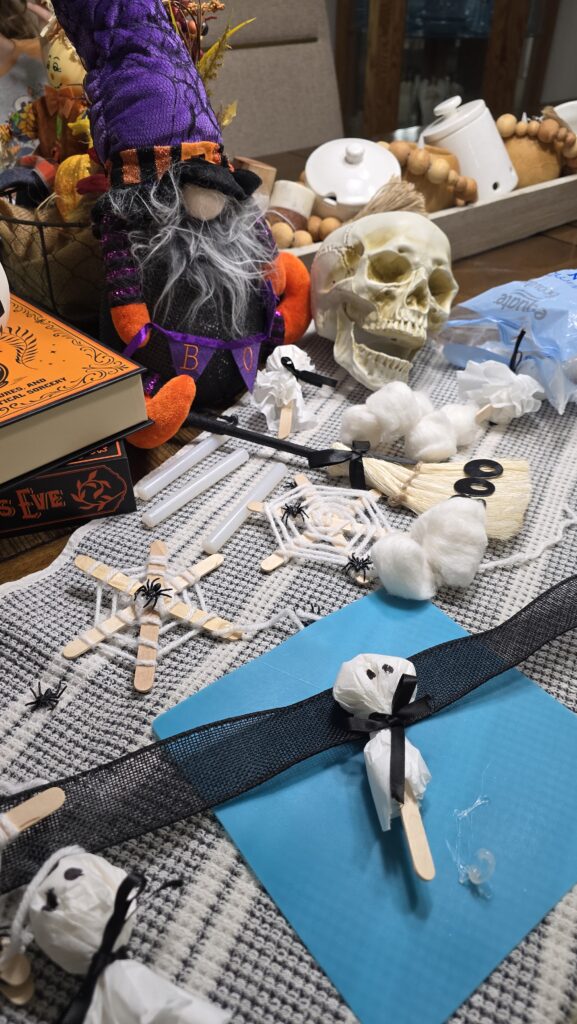
How to Make the Coffee Filter Ghosts
These are so simple and they look genuinely adorable. Carolynn was obsessed with making her ghost look as spooky as possible and spent a solid five minutes perfecting the eyes. That is executive function at work, people.
- Open up a coffee filter and place a few cotton balls in the center. You want enough to give the ghost a round, full head shape when you gather the filter up.
- Put a few dots of hot glue on the popsicle stick. Slide the popsicle stick up into the gathered base of the filter so it acts as the ghost’s body.
- Gather the coffee filter up around the popsicle stick sinching it under the cotton ball head to make the rounded head shape.
- Tie a small piece of ribbon around the gathered neck area, just below the round head. This holds the shape and adds a cute little detail.
- Let your kiddo draw on the ghost’s eyes with a black marker. Two little oval eyes are all you need.
Make as many as you want. We made five ghosts total because Carolynn wanted a whole ghost family. I did not argue.
How to Make the Popsicle Stick Spider Webs
These take a little more patience but they are so worth it. Camden helped me hold the sticks while I hot glued them, and he felt very important about that.
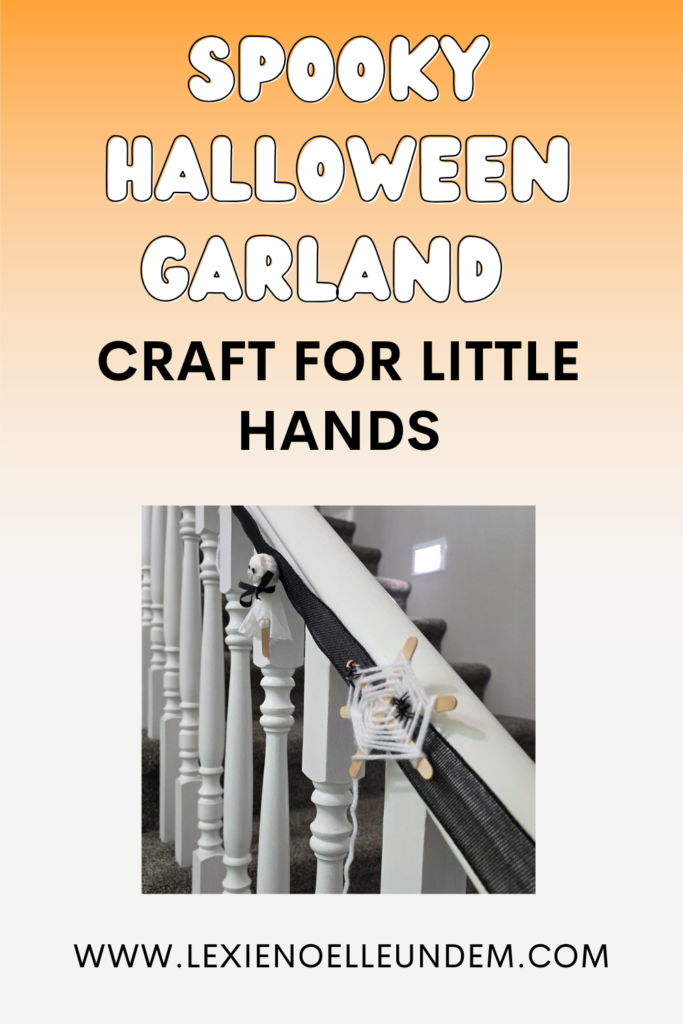
- Take three popsicle sticks and arrange them so they form a six-pointed star or asterisk shape, all crossing in the center. Hot glue them together at the center point. Let it dry for a minute before handling.
- Tie your white string or yarn to the center where all the sticks meet. Knot it well or glue it in place.
- Begin wrapping the string outward in a spiral pattern, looping it once around each stick as you go. Pull it snug but not so tight that the sticks bend. Keep wrapping outward until you get close to the tips of the sticks.
- Glue the string at one of the outer tips and trim the excess but still leave a little for a spider or for some dangles.
- Hot glue a small plastic spider somewhere on the web. Carolynn wanted to do six spiders on hers. Very dramatic. Very on brand.
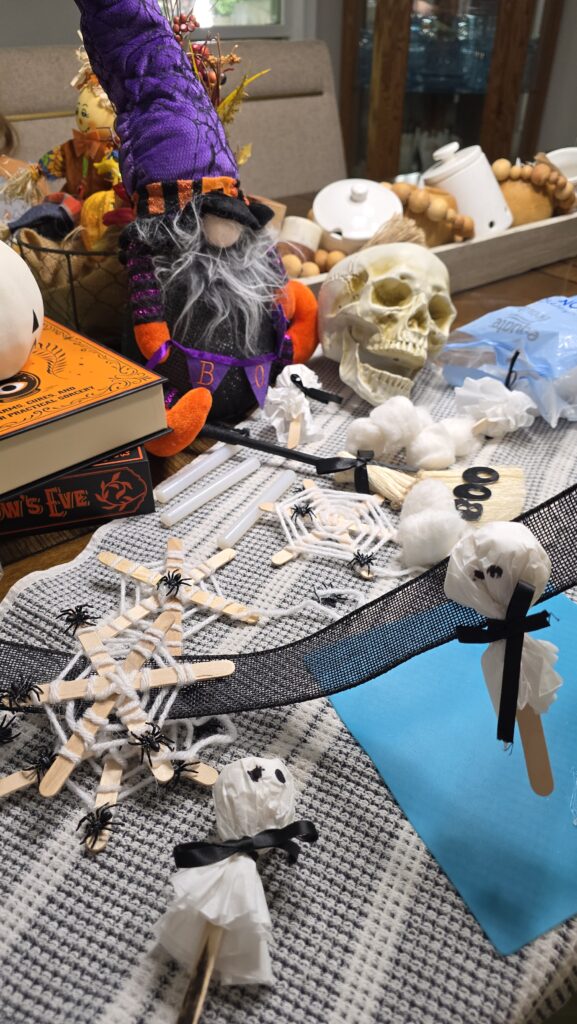
We made five spiders webs, with my sisters help in the background.
Assembling Your Halloween Garland
Once all your pieces are made and the glue is fully dry, it is time to put the garland together. This part is quick and so satisfying.
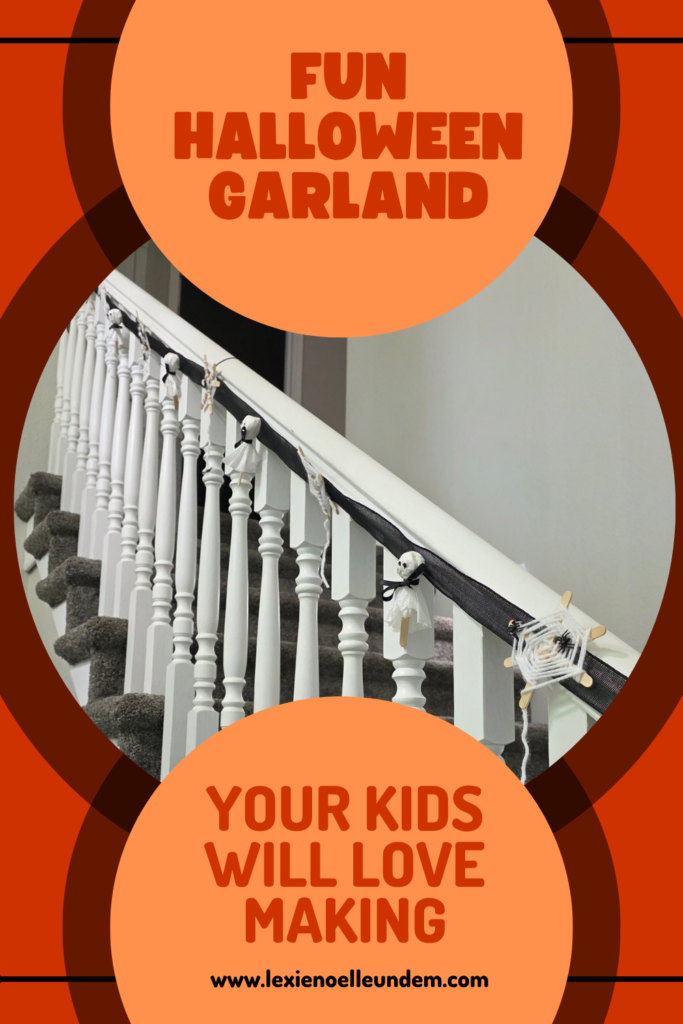
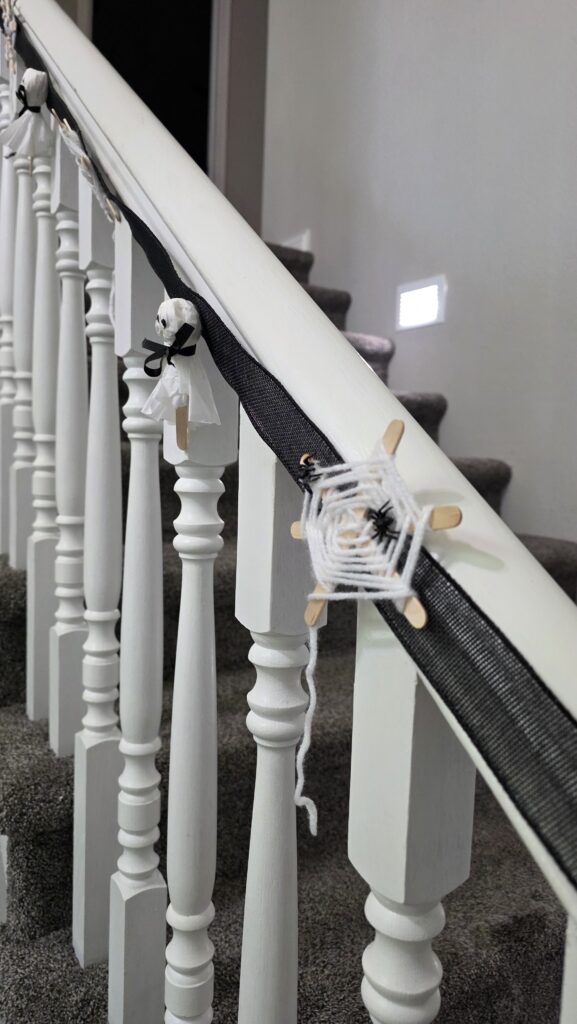
- Lay your long ribbon out flat on a table. Decide how you want to space everything. We alternated ghosts and spider webs, but you could cluster them however you like. A thick, solid ribbon works the best for this.
- Once you are happy with the arrangement, hot glue each piece onto the ribbon. For the ghosts, glue the head directly onto the ribbon. For the spider webs, glue the back of one of the sticks. or the center onto the ribbon.
- Let everything dry completely before picking up the garland.
- Hang it up and step back and feel very proud of yourself and your small helpers.
We hung ours down the stair railing and it looks so cute. I am honestly impressed with how good it looks for being made entirely out of cheap supplies and craft bin leftovers.
Tips for Doing This Craft with Toddlers and Preschoolers
Listen, crafting with a two-year-old and a six-year-old at the same time is not always graceful. Here is what helped us get through this one without losing anyone’s mind, including mine.
- Set up two separate stations. Carolynn needed more complex tasks and Camden needed simpler ones. Having defined spots helped a lot with keeping the peace.
- Pre-cut and pre-glue where needed. I glued the popsicle stick frames together before we sat down so we could go right into stringing. Reduced wait time, reduced meltdowns.
- Give Camden cotton ball duty. He stuffed every single ghost filter and he was so proud. Simple, repetitive tasks are perfect for toddlers.
- Let Carolynn lead on the creative stuff. She is six with ADHD, and giving her a job with real creative control kept her engaged way longer than a structured task would have. She designed all the ghost faces herself.
- Keep the hot glue gun completely out of reach. I repeated this to myself approximately forty times. The hot glue is a you job, not a kids job.
- Embrace the imperfection. Some of the string wrapping on our spider webs is a little uneven. The ghosts are different sizes. It looks handmade because it is handmade. That is the whole point.
Why We Love Simple Halloween Crafts for Kids
I know there are people out there with perfectly coordinated Halloween decor and matching throw pillows and aesthetic everything. That is not us, and I stopped trying to be that a long time ago. What we do have is a garland that our kids physically made with their own little hands, hanging on our stairs, and Carolynn has pointed it out to literally everyone who has walked through our door this week.
That is worth more than anything from a store.
Simple Halloween decorations that come from easy kids crafts are also just more fun to put up. There is no stress, no expensive supplies, and no pressure to get it perfect. You grab what you have, you sit down together, and you make something. Carolynn loves having ownership over how our house looks during the holidays. Camden loves being included. Shane loves that it does not cost very much. And I love that it gives me content. Everybody wins.
If you are looking for more fall crafts for young kids or easy Halloween crafts for toddlers, stick around because we are going full craft mode over here and I have a lot more coming.
Frequently Asked Questions About Making a Halloween Garland for Kids
What age is this Halloween garland craft appropriate for?
This craft works well for kids ages two and up with adult supervision, especially for the hot glue steps. Toddlers around age two to three can help with stuffing the coffee filters with cotton balls, holding pieces, and scribbling eyes on the ghosts. Preschoolers and kids around ages four and up can do more of the stringing and creative decorating. The hot glue portions should always be handled by an adult, no matter the age of the child.
What can I use instead of a hot glue gun?
If you do not have a hot glue gun or would rather skip it for safety reasons, you can try a few alternatives. Strong craft glue like Aleene’s Tacky Glue will work but will need a much longer drying time, usually several hours. You can also use a low-temp glue gun if you have one, which is a little safer around curious small hands, though still an adult-only tool. For the garland base, you could also try tying each piece onto the ribbon with a small piece of string instead of gluing.
How long does this Halloween garland craft take to make?
From start to finish, we spent about 45 minutes on this craft, including assembly time for the garland. If you have everything prepped ahead of time, like the popsicle stick frames already glued into their star shapes and the supplies sorted into piles, you could probably get it done in 30 minutes. Drying time between hot glue steps adds a few minutes here and there, but nothing significant. This is a genuinely manageable one-afternoon kind of craft.
Can I make this Halloween garland without popsicle sticks?
Yes, absolutely. The popsicle sticks are used as the base for both the ghost bodies and the spider web frames. For the ghosts, you could substitute a short dowel rod, a pencil, or even a sturdy straw. For the spider webs, you could use thin cardboard cut into a star or asterisk shape as your base and wrap the string around the points. The concept stays the same, you are just swapping the structural material.
How do you hang the finished Halloween garland?
We used thin ribbon to tie ours to the railing, and it holds up perfectly. You can also drape it across a window, hang it from the fireplace mantle, tape it to a wall, or string it along a bookshelf. Since the materials are lightweight, it does not need heavy-duty hardware to stay in place. Command strips or removable hooks are a great option if you do not want to put holes in your walls.
Make This Halloween Garland with Your Kids This Weekend
Seriously, go grab some coffee filters and popsicle sticks and just do it. I promise it is easier than it looks and your kids are going to be so proud when they see the finished garland hanging up in your home. There is something really special about holiday decor that your family actually made together, even if it involves a little bit of cotton ball chaos and some very enthusiastic ghost-face drawing.
If you make this Halloween garland for kids, I would absolutely love to see it. Drop a photo in the comments or tag me over on Instagram. I live for seeing your versions of the crafts we make over here, especially when toddlers are involved because they always add something unexpected and hilarious.
And if you want to save this for later, pin it! It goes really fast to put together so even if Halloween is coming up soon, you still have time.
Happy crafting, friend. You have got this.
Share your Halloween garland creations with me!
Enjoying My Content? Check These Out!
Pin Me For Later