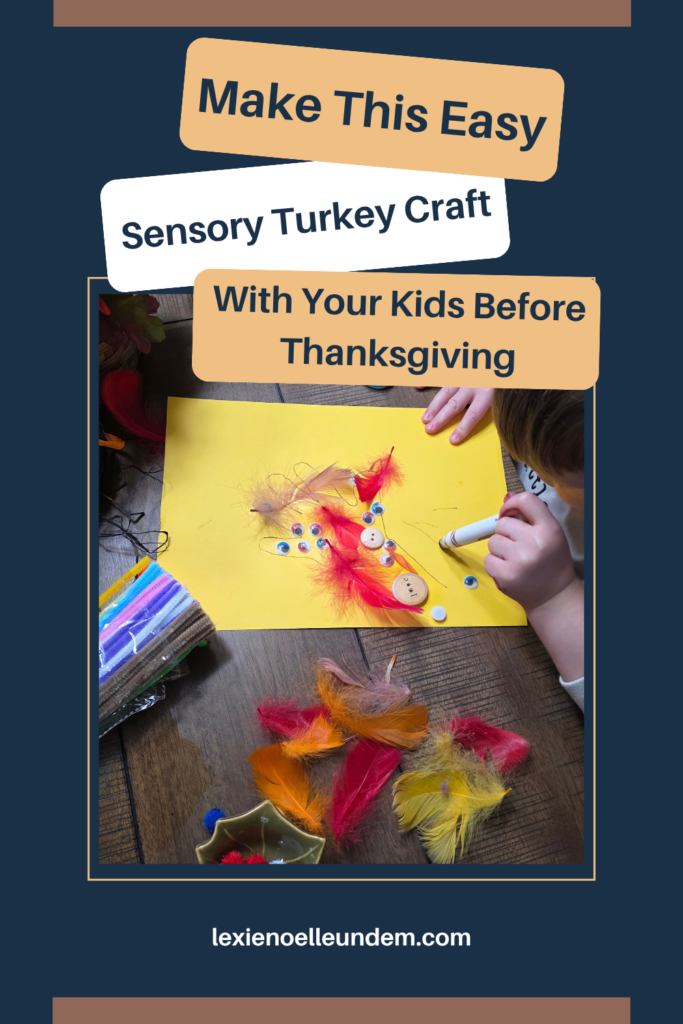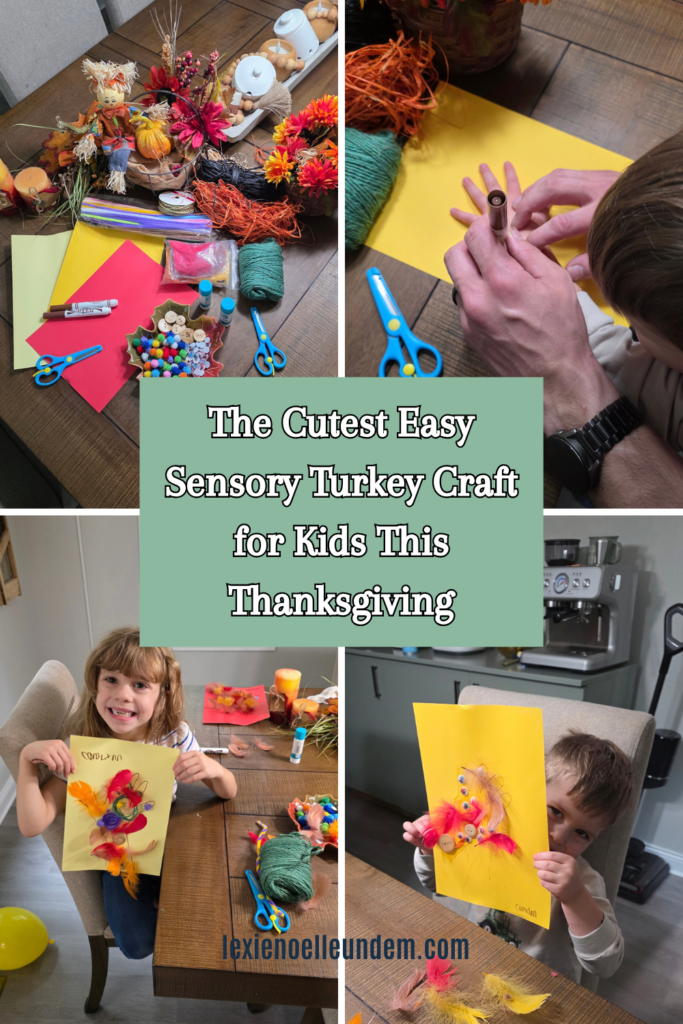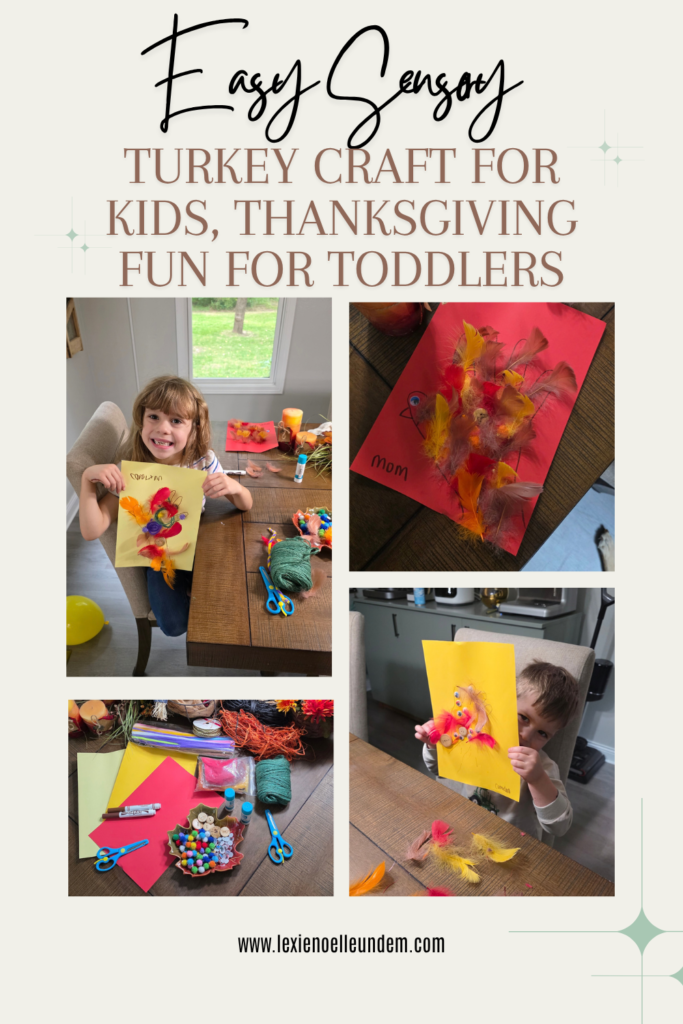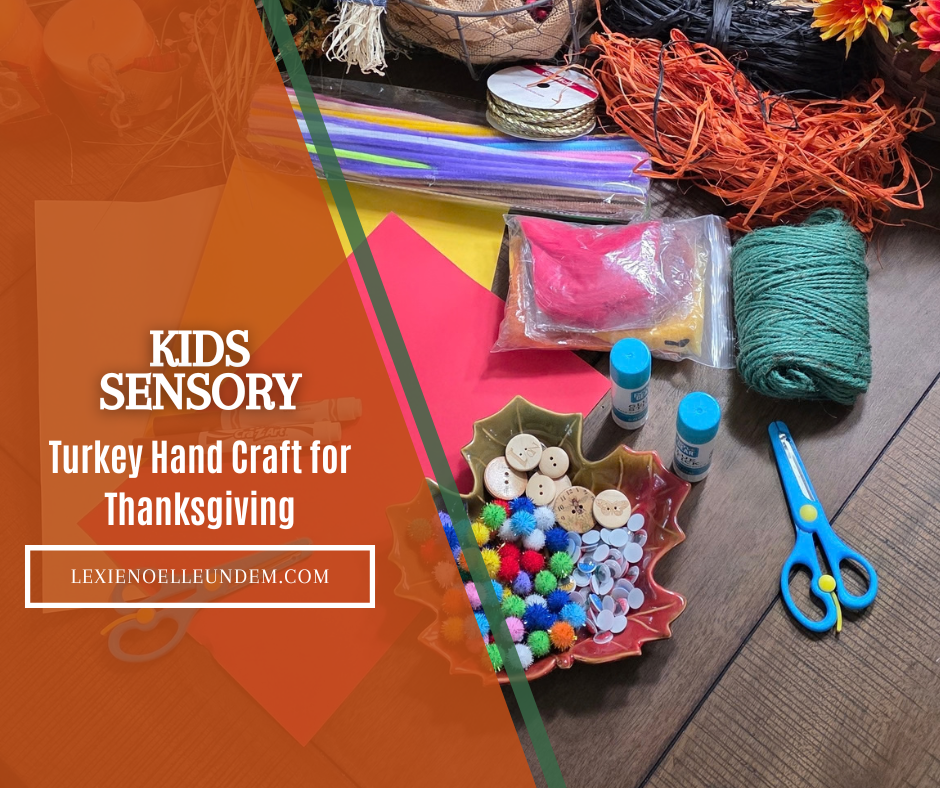
Every November I tell myself we are going to do something really creative for Thanksgiving decor, and this year we actually followed through. I love making a holiday craft part of our tradition, and finding something the kids genuinely want to sit down and make is always my goal. This year we nailed it, and I am honestly a little proud of us.
The best part is that this craft is genuinely simple. You do not need a special trip to the craft store. You probably already have most of what you need sitting in a junk drawer or tucked in a bin somewhere. And because it uses different textures like yarn, feathers, buttons, and twine, it keeps little hands busy and engaged in a way that plain coloring just does not always do.
Let me walk you through exactly how we did it so you can try it with your own kids this fall.
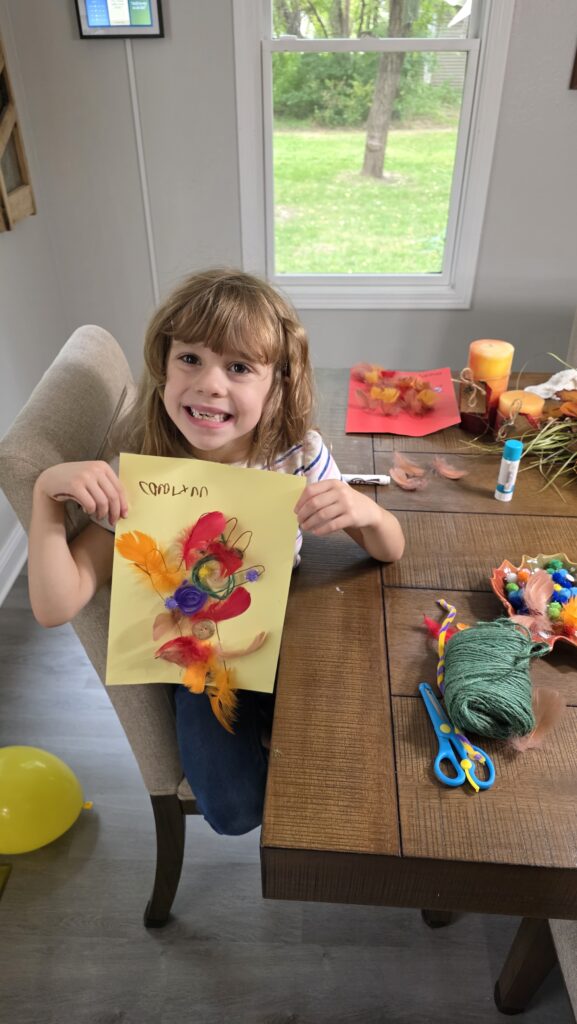
What Is a Sensory Turkey Hand Craft?
A sensory turkey hand craft is a Thanksgiving art project where kids trace their hands to create a turkey shape, then decorate it using materials with different textures, sizes, and colors. The traced hand naturally looks like a turkey body and feathers, which makes it one of those rare crafts that looks intentional even when a two-year-old is heavily involved.
The sensory element comes from giving kids access to tactile materials like fluffy feathers, rough twine, smooth buttons, and soft yarn instead of just crayons or paint. Handling those different textures is genuinely good for fine motor development, and it also just makes the finished product way more interesting to look at on your wall or fridge.
Supplies You Will Need
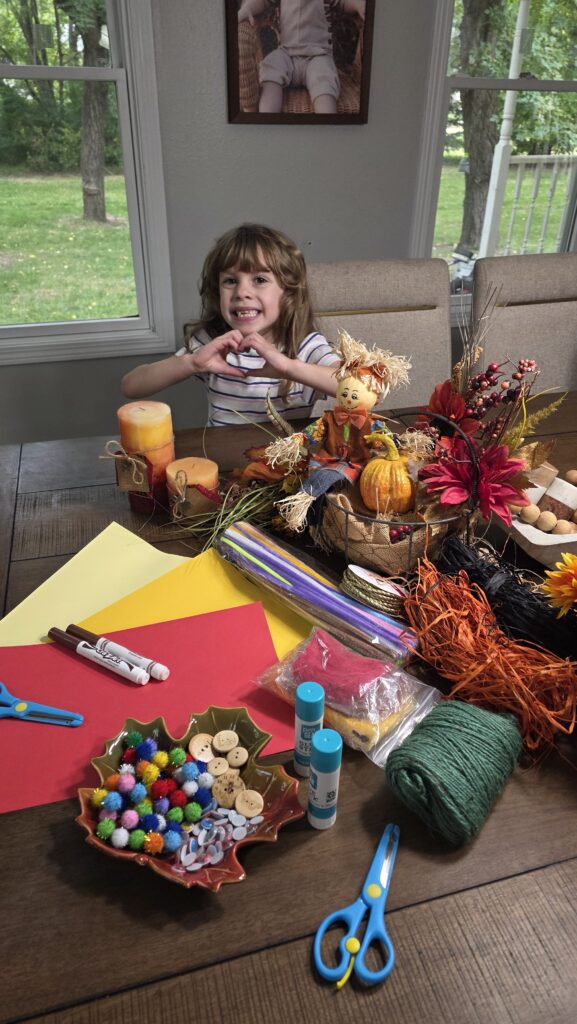
Here is what we gathered before sitting down at the table. You can absolutely swap things in and out based on what you have at home.
- Fall colored construction paper
- Brown washable marker
- Glue sticks (have more than one on hand, trust me)
- Googly eyes in assorted sizes
- Craft feathers in fall colors like orange, red, yellow, and brown
- Yarn scraps in any fall colors
- Twine
- Small buttons
- Scissors (for adult use when cutting out finished turkeys)
- Optional: orange and red washable markers for adding a beak or wattle after
We already had almost everything. I grabbed a small bag of craft feathers at the dollar store last fall and they have been living in our craft bin ever since. The rest was just pulling from what we had.
How to Make a Sensory Turkey Hand Craft: Step by Step
Step 1: Lay Out Your Materials
Before you call the kids over, get everything organized on the table. Put the sensory items into small bowls or just spread them out in little piles so kids can easily reach and choose what they want. Having everything visible and accessible makes the whole activity go more smoothly and keeps kids from getting frustrated trying to dig through a bag.
Put the construction paper flat in front of each child. If you have a wiggly toddler, tape the corners of the paper down lightly so it does not slide around.
Step 2: Trace the Hand
Have your child spread their hand flat on the paper with fingers slightly spread apart. Use the brown washable marker to trace around their hand, including the wrist area so the turkey has a little body at the bottom.
For toddlers, you will almost certainly be doing this part for them. Camden was not about to hold still long enough to trace his own hand, so I held his hand gently flat and traced quickly. For older kids like Carolynn, let them try tracing their own hand first and help if needed. The lines do not need to be perfect. A slightly wobbly outline just adds character.
Once traced, you should see the basic turkey shape: the palm and wrist area form the body, and the fingers form the feathers fanning up.
Step 3: Apply Glue to the Turkey
Give your child a glue stick and let them apply glue all over the traced hand shape. Encourage them to cover the fingers and the palm area. For younger kids, more glue is always better because they tend to pick spots and miss others.
I showed Carolynn how to color in the whole outline with the glue stick like she was coloring a picture. That clicked for her immediately and she did a great job covering the whole shape.
Step 4: Decorate with Sensory Materials
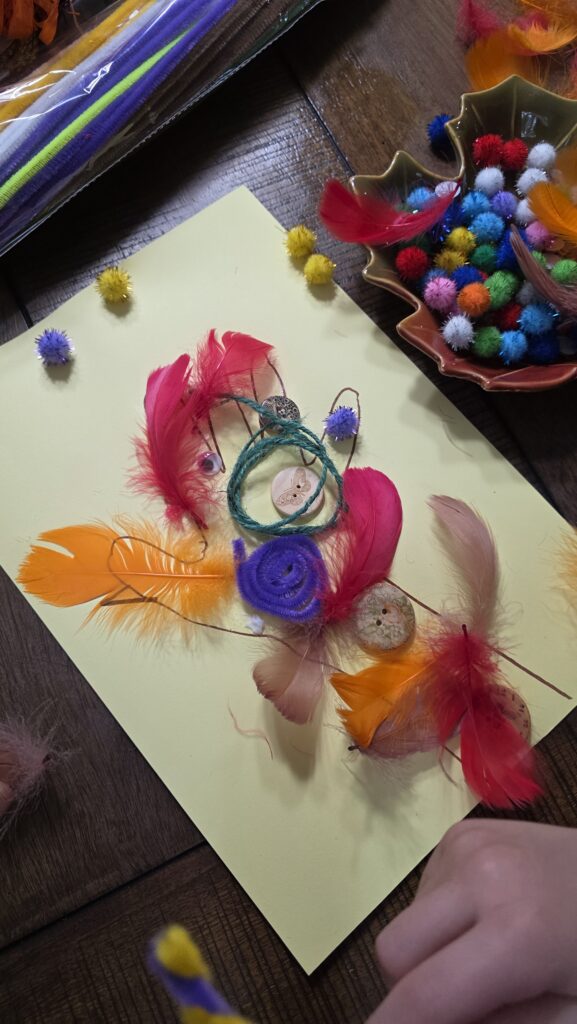
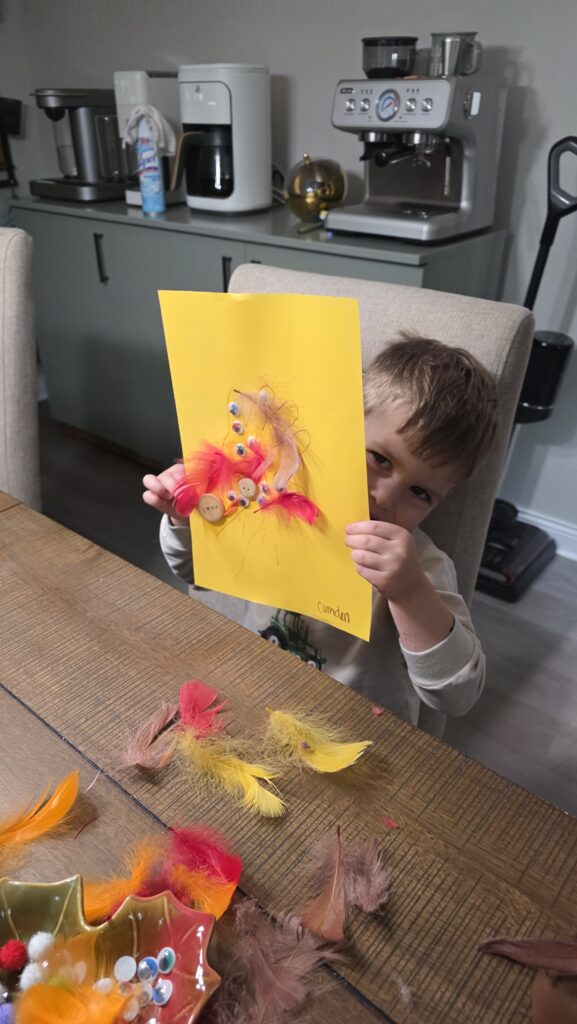
This is where the fun really starts. Let your child choose from the sensory materials and press them onto the glued turkey shape. There is no wrong way to do this part.
Here is roughly how we used each material:
- Feathers: Pressed along the finger sections to look like real turkey feathers
- Googly eyes: Stuck onto the palm area where the turkey face would be
- Yarn: Torn or cut into small pieces and pressed onto the body for texture
- Twine: Wrapped or layered across the feather fingers for a rustic look
- Buttons: Scattered across the body and feather areas for dimension
Carolynn was very methodical about hers and spent a solid fifteen minutes carefully placing each item. Camden basically put googly eyes everywhere and called it done in about four minutes, which is developmentally perfect for a two-year-old and honestly his turkey turned out great anyway.
Step 5: Add Details with Marker
Once the sensory materials are placed, let kids add a beak and wattle with orange and red washable marker if they want. You can also draw a little eye if you skipped the googly eyes, or add feet at the bottom of the palm.
This step is completely optional. Some kids want to add every detail and some are done the moment the last feather hits the page. Follow their lead.
Step 6: Let It Dry
Set the finished turkeys somewhere flat to dry completely. Glue stick takes a little longer to fully cure when there are thick layers of materials on top, so give it at least an hour before you try to move them. We left ours overnight just to be safe.
Step 7: Display Your Turkeys
Once dry you have two options. You can hang the whole sheet of paper on the fridge with a magnet, which is the fast easy route. Or you can carefully cut around the turkey outline with scissors and stick them directly on the wall with painter’s tape or a small Command strip for a really cute Thanksgiving display.
Tips for Making This Craft Go Smoothly
- Use cardstock or construction paper over regular paper. The heavier paper holds up better when kids are pressing chunky items like buttons and thick layers of yarn onto it.
- Have backup glue sticks ready. Kids go through them fast and nothing derails a craft session like running out of glue halfway through.
- Pre-cut yarn and twine into small pieces. Handing a toddler a long piece of yarn usually means it ends up everywhere except the turkey.
- Tape the paper down for toddlers. A moving piece of paper is incredibly frustrating for small hands trying to place tiny items.
- Let them make their own design choices. The turkey does not need to look realistic. If Camden wants to put ten googly eyes on one feather, that is his artistic vision and we respect it.
- Do the hand tracing yourself for kids under three. Trying to get a toddler to hold still for a hand tracing while also holding the marker is a two-person job or a patience-testing solo mission.
Common Mistakes to Avoid
- Not using enough glue. Glue sticks are not as strong as liquid glue, so a thin swipe is not going to hold feathers and buttons. Really lay it on.
- Moving the project too soon. I have definitely peeled a feather off a wall because I tried to hang a craft before the glue was fully dry. Let it sit.
- Using regular copy paper for heavy materials. If you are adding a lot of buttons or thick items, thin paper will buckle and warp and the craft will not hang flat.
- Setting up too many material options at once. For very young kids, too many choices can be overwhelming. Start with three or four items and add more once they are settled in.
- Skipping the hand tracing step because it seems messy. The brown marker outline is actually what makes the turkey readable as a turkey. Without it, it is just a hand covered in craft supplies. The outline matters.
Frequently Asked Questions About the Turkey Hand Craft
What age is the sensory turkey hand craft appropriate for?
This craft works well for kids from about 18 months through early elementary age. Toddlers will need more adult help with the tracing and gluing steps, while kids ages four and up can mostly handle the project independently with light guidance. Even older kids in kindergarten and first grade enjoy it because the sensory decorating step is genuinely fun regardless of age.
Can I use liquid school glue instead of a glue stick?
Yes, liquid school glue like Elmer’s works great and actually holds the heavier items like buttons and thick yarn more securely than a glue stick does. The trade-off is a longer drying time. If you use liquid glue, plan for the project to dry for several hours or overnight before hanging. Glue sticks are easier for little hands to manage independently, which is why we went that route.
What can I use instead of craft feathers?
If you do not have craft feathers, you can cut feather shapes from colored tissue paper, construction paper scraps, or even fabric scraps. Torn pieces of paper bags give a nice rustic look too. The sensory element comes from mixing different textures, so just think about what you have around the house that feels different from flat paper.
How do I hang the cut-out turkeys without damaging the wall?
Painter’s tape is the gentlest option for most painted walls. Small Command picture-hanging strips also work well for keeping the turkey flat against the wall without drooping. If you are hanging on a door or in a window, a piece of ribbon taped to the back turns the turkey into a simple hanging ornament. For the fridge, a few strong magnets across the top edge hold it nicely.
Can this be made as a Thanksgiving keepsake?
Absolutely, and honestly that might be the best reason to make it. A traced handprint from your two-year-old is something you are going to want to have years from now. Once fully dry, you can slip the turkey into a page protector or a simple frame to preserve it. Writing your child’s name and age on the back before starting the project means you will always have that context when you find it in a box someday.
Why We Love This Craft for Fall
There are a hundred Thanksgiving crafts you can find online, but a lot of them require supplies you have to order, or they have so many steps that by the time you get to the fun part the kids have wandered off. This one is different because the decorating is the very first thing kids get to do after the tracing. There is no waiting, no complicated setup, and no moment where you look up and realize you forgot to buy one crucial ingredient.
If you make these with your kids this fall I would love to see them. Tag me over on Instagram or drop a comment below. Happy Thanksgiving, friends.
Like my content? Check out more over on my Instagram!
You Might Also Like…
Check Out These Pins!